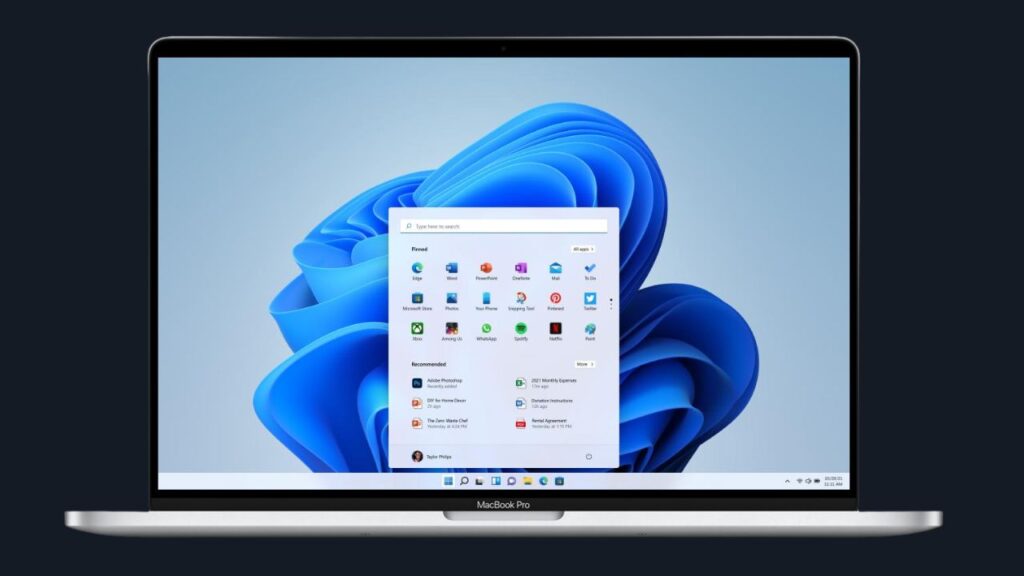
If you’re eager to run Windows 11 on your silicon Mac without breaking the bank, you’re in luck. In this guide, we’ll walk you through the steps to install Windows 11 on your Mac using free solutions.

Step 1: Download UTM App
- First, download the UTM app.
- Drag the downloaded UTM app to your Applications folder to install it.
Step 2: Download Windows 11
- Visit the provided link to download Windows 11.
- Log in to your Microsoft account. If you don’t have one, create a free account.
- Click “Learn more” and register in the Windows Insider program. Accept the terms and agreement.
- Once registered, select Windows 11 and download it.
Step 3: Prepare Windows 11 for Installation
- The downloaded Windows is in VHDX format, but in this guide, we’ll install it using Qcow2 format.
- To do this, you need to install Homebrew. Open your web browser and go to the Blue Dot sh website.
- Follow the instructions to copy and paste the installation command into your Terminal. Wait for the installation to complete.
Step 4: Convert Windows 11 to Qcow2 Format
- Run the following x:
To convert a VHDX file to the Qcow2 format using the qemu-img command in your terminal, you can follow these steps:
- Install QEMU Tools (if not already installed): If you don’t already have QEMU tools installed on your system, you may need to install them. The package name might vary depending on your Linux distribution. For example, on Debian/Ubuntu-based systems, you can use
apt:
sudo apt-get install qemu-utilsOn CentOS/RHEL-based systems, you can use yum:
sudo yum install qemu-img- Convert VHDX to Qcow2: Once you have QEMU tools installed, you can use the
qemu-imgcommand to perform the conversion. Here’s the command to convert a VHDX file to the Qcow2 format:
qemu-img convert -f vhdx -O qcow2 input.vhdx output.qcow2- Replace
input.vhdxwith the path to your VHDX file. - Replace
output.qcow2with the desired name for the output Qcow2 file. This command will read the VHDX file and create a Qcow2 formatted image with the specified output file name.
- Optional: Adjust Options: You can also specify additional options depending on your requirements. For example, you can set the compression level or specify the size of the output image. Here’s an example of compressing the output image:
qemu-img convert -f vhdx -O qcow2 -c input.vhdx output.qcow2In this command, the -c flag is used to enable compression.
After running the command, you’ll have a Qcow2 formatted image file that you can use in virtualization environments that support this format, such as QEMU/KVM.
Step 5: Create a New Virtual Machine in UTM
- Open the UTM app.
- Create a new virtual machine and select “Windows” as the operating system.
- Browse and select the Qcow2 image file.
- Make sure to install drivers and spice tools.
- Allocate memory and CPU cores as per your system specifications.
Step 6: Start Windows Installation
- Click the play button to start Windows.
- Follow the on-screen instructions for Windows installation.
Step 7: Fix Network Issue
- If you encounter a Wi-Fi network selection issue, press Shift + F10 to open the command prompt.
- Execute the provided command to bypass this issue.
Step 8: Complete Windows Installation
- Finish the Windows installation by selecting your country, language, and keyboard layout.
- Create your user account.
Step 9: Install Spice Tools
- Download Spice Tools from the provided links in your Mac’s Safari browser.
- Mount the Spice Tools ISO in the UTM window.
- Install Spice Tools in the Windows virtual machine.
Step 10: Enjoy Windows 11 on Your Mac
- After installation, you’ll notice the display resolution matches, and Wi-Fi is working.
- You can now use Windows 11 in full-screen mode.
Conclusion:
That’s it! You’ve successfully installed Windows 11 on your silicon Mac using free solutions. Enjoy using Windows on your Mac, and don’t forget to comment below.